Wow! So last Saturday was one of the best crafting days ever, and that is because it was my first SU! onstage event.
Also my upline Sam Carlton did brilliantly on promoting to Silver and getting ribbons for recruiting and leadership!
And Congrats to Julie Kettlewell (my upline upline) she awesomely (if that is a word!) she was #17 globally overall in sales, leadership and recruiting, that is so amazing something to aspire to!
There were some fabulous products in the new occasions catalogue and I cannot wait to buy them and try them out, also do a few classes with them too!
So as I said before on my previous post I was chosen to be one of the Display Stampers for the event and was so happy to be picked!
(my name is the 6th one down ;-))
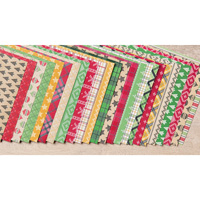
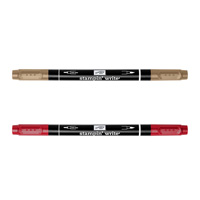
So I was given items from the Falling in Love suite, and they were gorgeous products. I had the DSP, the So Detailed thinlit dies, the embellishments, the Falling for You and So in Love stamp sets, the Falling Petals embossing folder and the Very Vanilla satin Ribbon. It was so hard not to tell anyone what the products were that I managed to get my hands on, especially my upline, but I did it though!
Here is what I was given in pictures...
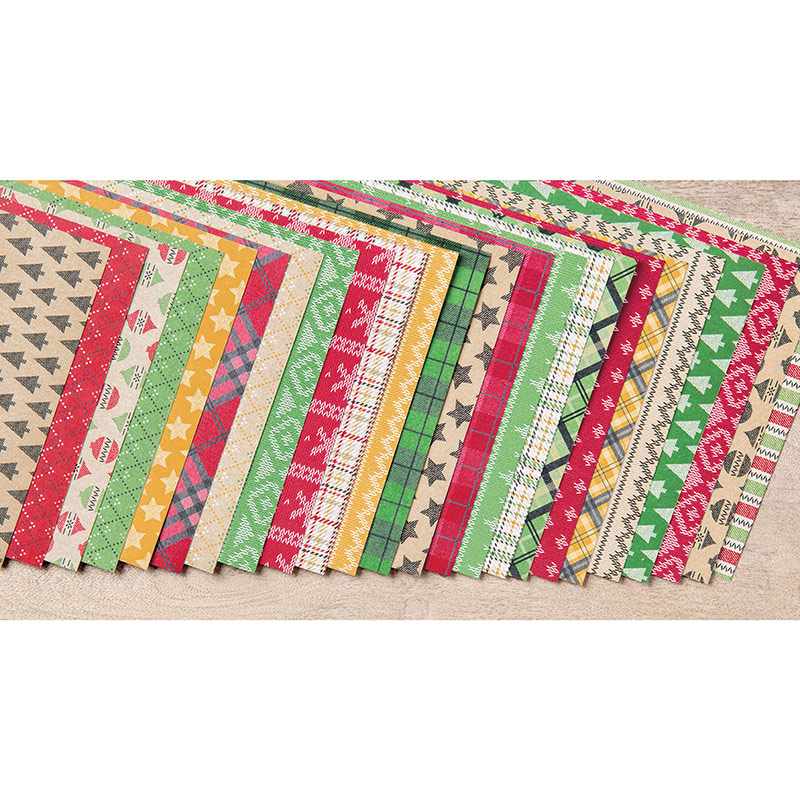
The pictures do not do the products justice, but once you order them yourselves then you will love them even more! The main colours used on these papers are Soft Sky, Sahara Sand, Blushing Bride, Very Vanilla and Sweet Sugarplum.
Here are the samples I made with them, I did do two little bags and two boxes (one hexagonal and the other cube shape) but I have them on my camera at the moment and not on my phone so cannot upload them yet.
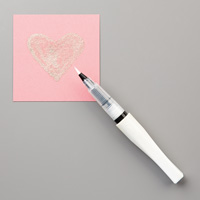
With this project I used the Falling Petals embossing folder to emboss vellum to make it into a save the date cover. The main bit was made with the Falling petals side of the DSP and the black section is created with one of the So Detailed dies. I then used the Project Life Date It stamp set for the calendar section and finally the Brushwork alphabet for the names and title. I also used a bit of clear Wink of Stella over the whole project!
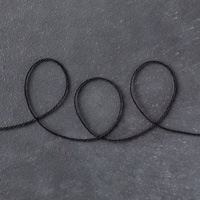
This calendar was made again with the Project Life Date It stamp set, with each month stamped onto a seperate bit of card then hole punched with the 1/16" circle handheld punch and binded together with metallic twine. I again used the same DSP page as above and I cut some Very Vanilla card using one of the other So Detailed thinlit dies. I then finished it off with Very Vanilla satin ribbon.
These two cards above used the third So Detailed thinlit die that I have not shown yet on my other projects above. Love these dies as they are so delicate and pretty. I thought the colours on the left with the black makes the die cuts look more heat embossed rather than a die cut as it is so intrinsic and fine, which looked perfect for what I wanted to show. The card on the right has the die cut layered on the DSP but this time it is an image of a wedding veil or dress.
 So this card uses the So Detailed thinlit die that I just used in the previous two cards but I used it as a stencil and sponged Blushing Bride ink over it on Very Vanilla card.
I then used the flowers from the Falling for You stamp set inked in versamark, then poured heat and stick powder on the stamped images, heated it then put Silver glitter over top and heated again for it to set. The sentiment is from the same stamp set and I finished it off with silver ribbon.
These two cards use the SO Detailed thinlit die as a tag. The above image is a tag that you could use for a wedding present with the sparkly silver and blushing bride colours, and for the card I wanted to show that it doesn't have to be soft subtle colours for it to be romantic and it gives it a bit of sunshine too!
This card uses the So in Love stamp set. I thought I would do a bit of masking and show that you do not need embossing, glitter, etc to make a pretty card, but all you need is ink and ribbon!
 This card was the first one I made and I was really nervous as you only get so much of these items especially the DSP so if something goes wrong then you cannot get anymore, so I was very nervous about cutting up the precious DSP!
So embossed some vellum with the Falling Petals embossing folder and layered it over some of the bokeh effect DSP. I then die cut love and the tow hearts out of soft sky and blushing bride cardstock using the Sunshine Wishes thinlit dies, which I thought went rather well! Then finished it off with the Very Vanilla satin ribbon.
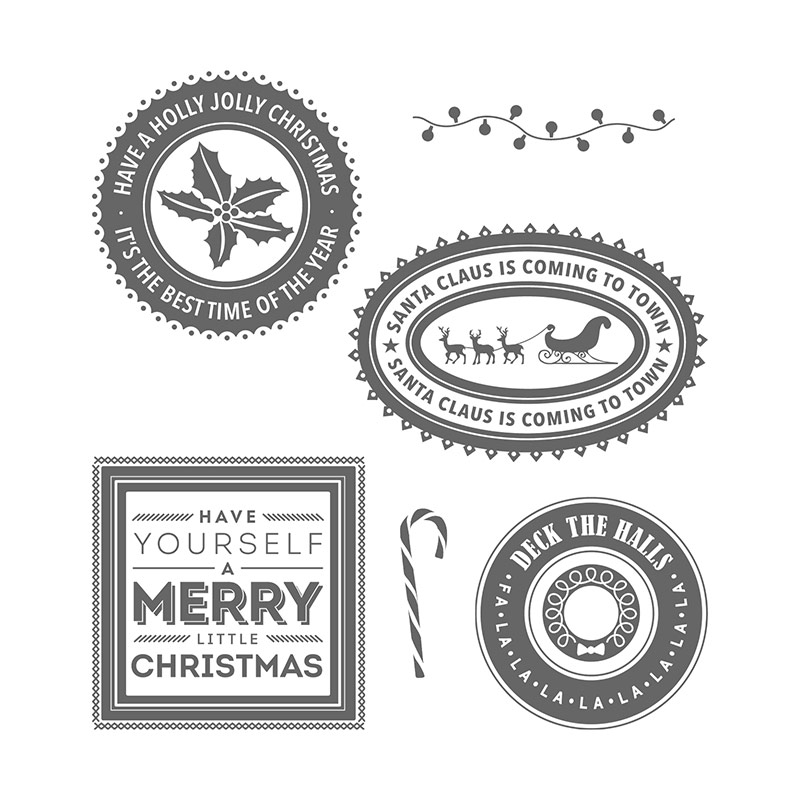
For this final card I thought I would show the versatility of the DSP and show that it does not have to be used just for romantic and wedding occasions but can be used for christmas! I just think that this background look like trees with snow on them when in fact it is crystals and rhinestones on wire like in a tiara. The sentiment is from the Holly Jolly Layers stamp set from the Autumn-Winter catalogue.
This card was the first one I made and I was really nervous as you only get so much of these items especially the DSP so if something goes wrong then you cannot get anymore, so I was very nervous about cutting up the precious DSP!
So embossed some vellum with the Falling Petals embossing folder and layered it over some of the bokeh effect DSP. I then die cut love and the tow hearts out of soft sky and blushing bride cardstock using the Sunshine Wishes thinlit dies, which I thought went rather well! Then finished it off with the Very Vanilla satin ribbon.
For this final card I thought I would show the versatility of the DSP and show that it does not have to be used just for romantic and wedding occasions but can be used for christmas! I just think that this background look like trees with snow on them when in fact it is crystals and rhinestones on wire like in a tiara. The sentiment is from the Holly Jolly Layers stamp set from the Autumn-Winter catalogue.
And finally these are my two scrapbook pages, I am not good at scrapbooking because I do not really do it myself but hope that it showcases the papers and dies nicely!
I will try and upload piccies of my other four 3d items when I get the chance but I hope you like my projects so far, and I am sure you will see plenty more once people get their hands on the items!!!
Keep watch as I will also be posting pics from the event and all the other items that were shown and made for Onstage!
That is it from me for now, hope you liked it and thank you for reading and please feel free to leave me a message.
Sarah xx