Essex, United Kingdom - craftwithsarah@gmail.com - 07545879858
Showing posts with label Jems blog hop. Show all posts

Saturday, 3 February 2018

Jems February Blog Hop - Celebrating Love


Good morning everyone!

It has been awhile since I have posted on my blog but I am hoping that getting back on track with this month's blog hop will help sort that out!

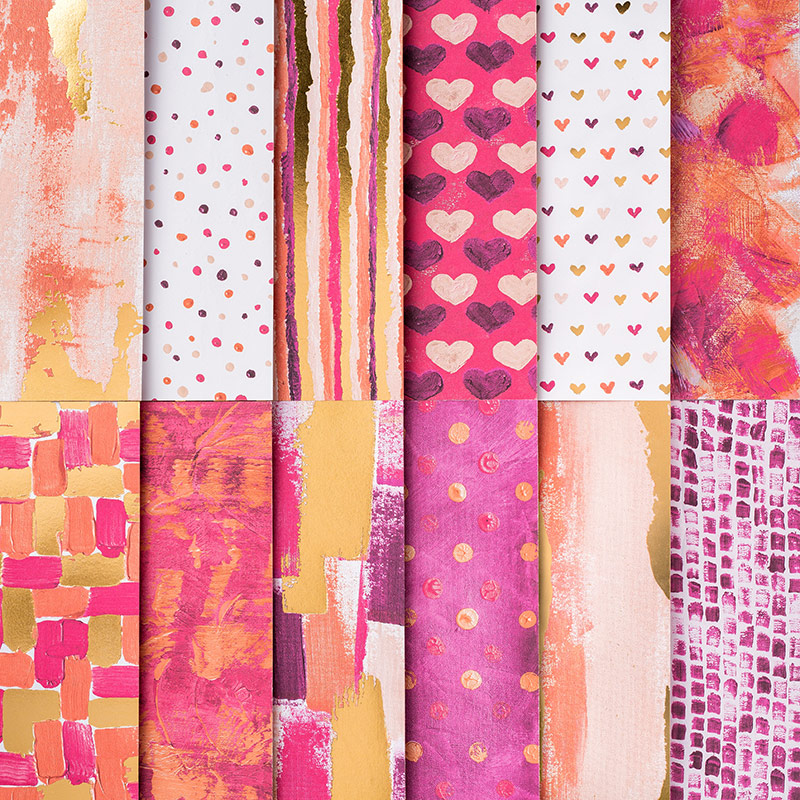
So this month's hop is all about Celebrating Love so one of my first things from the SU catty I thought about using is the Painted with Love Specialty Designer Series Paper. I love this paper as it is colourful and vibrant and has gorgeous gold foiling running through it!


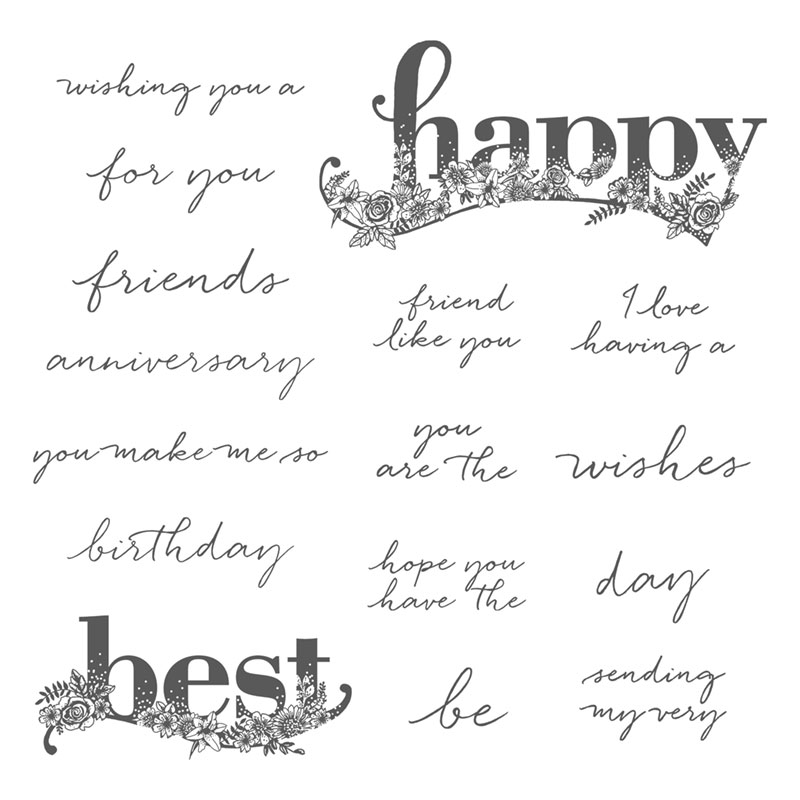
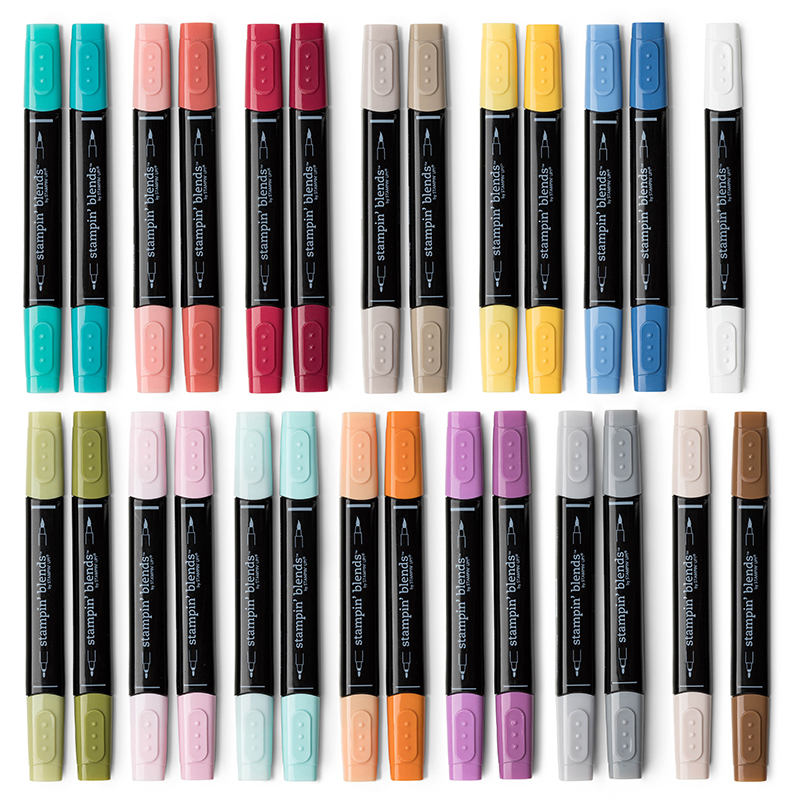
A sentiment to go with this was from the Sale-A-Bration section called Happy Wishes clear mount stamp set, it is available for free with a qualifying order over £90. I really wanted to use this stamp set so that I could use my new Stampin' Blends Markers to colour in the 'Happy' stamp. I was not going to get these markers as I do have another brand of markers to use but my mum recently purchased them and I used hers and found they were so much easier to use in terms of colours working together and blending easy with each other and not overwelmed with the amount of different colours available. Also they one side are very fine so are perfect for intricate colouring and the colour lifter can take away colour if you make a mistake or want to lighten a certain section.


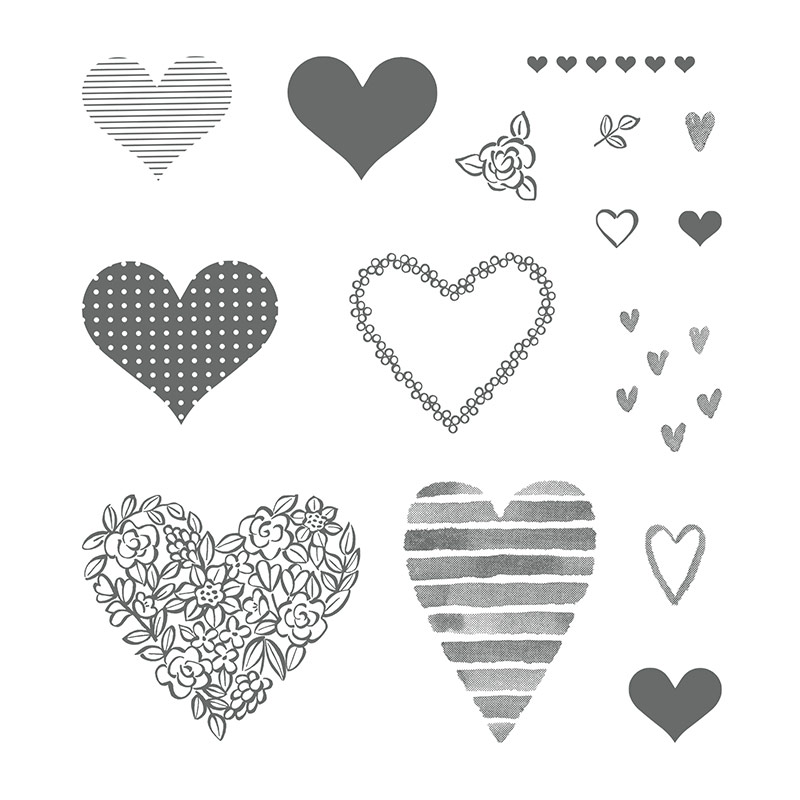
So these are the cards I have made with the DSP and free stamps. As you can see from the pictures I have used a heart stamp which is available from the Heart Happiness Photopolymer Stamp Set. This stamp set I got free from the November Stampin' Up! convention which is only available for SU demos so of course for Valentines I had to use that as well and also again I could use my Stampin' Blend markers to colour them in!


 At the moment if you join as a demonstrator during Sale-A-Bration then you can purchase £130 worth of items for £99, along with the choice of TWO additional stamp sets for your kit—any stamp set, any price.

Just click on the JOIN NOW button at the top of this page.


Anyways that is that from me for now if you like any of my creations feel free to Copy and Share and hope you visit again soon!

The next blog is by Uma and I am sure she will not disappoint with her lovely creations for this month's hop so enjoy!!!!

A Sense of Uma - Celebrating Love Hop


If you missed one then the start of this hop is with Lynn Smith:  
Celebrating Love - Start of Hop


Table built using Product Table Builder by The Crafty Owl - Independent Stampin' Up! Demonstrator.

Saturday, 1 July 2017

Jem's Blog Hop!


Back to the beginning


Good morning everyone!!!


It is Jem's Blog Hop day today, the theme of this month's one is 'You are my Sunshine'.
You may have arrived here from Julie's blog or if you went backwards through the hops then hello from Amanda's blog!

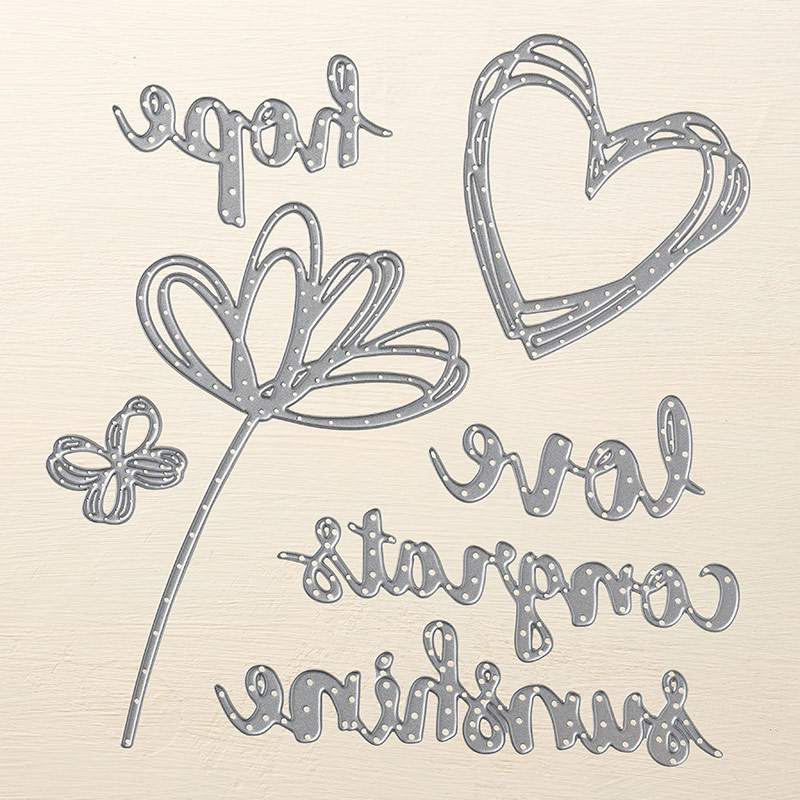
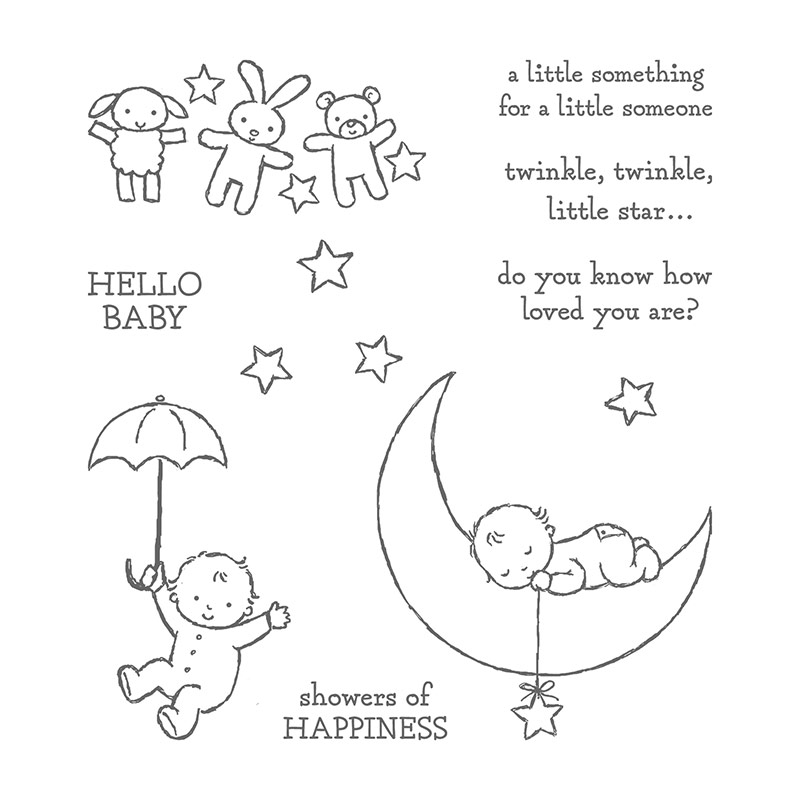
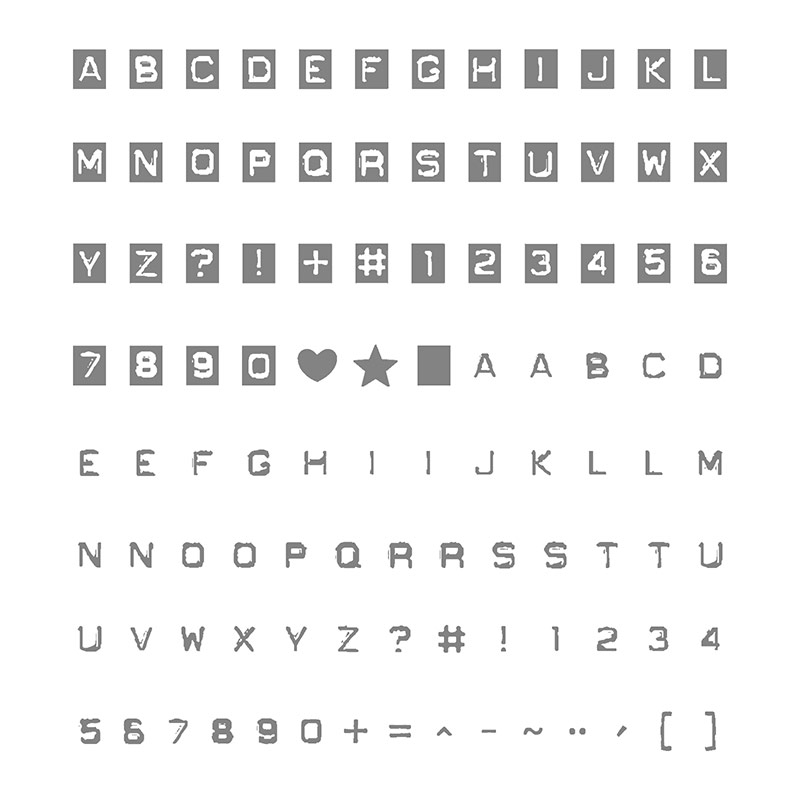
Today I have chosen to use the Moon Baby stamp set, the Labeler Alphabet stamps and the Sunshine Wishes thinlits.

To begin with this was a really difficult theme for me to come up with a card, I knew I wanted to use the Sunshine thinlet but had no idea what to do with it, I am not a really gushy person so the notion of designing a card for my husband using them words made me feel sick, ha ha maybe not that bad but I was like no.

So I comtemplated some more and realised that everytime I said sunshine I thought of the song lyrics 'You are my Sunshine, you make me happy, when skies are grey' (I remember hearing this song years ago when I was a child on a muppets video called Gonzo's weird stuff, it WAS weird so maybe that is why it is stuck in my mind!). From that I came up with the below card:


I first of all stamped the baby with the umbrella using daffodil delight ink onto whisper white card, masked it off using a post it note then sponged on Basic Grey at the top along with Smokey Slate afterwards working my way down the card, at the bottom I sponged on Soft Sky just to give it a subtle colour. Also sponged a bit of Whisper White over top of the grey to give the effect of clouds, I then coloured in the baby image with watercolour pencils. 

I sponged some Pumpkin Pie, Daffodil Delight and Tangerine Tango onto cardstock and then cut it out with the Sunshine thinlit, but you could just cut it out of Tangerine Tango or Pumpkin Pie cardstock. I used the Labeler Aphabet stamp set with Basic Grey to do the sentiment, and Finally, just mounted the card onto Daffodil Delight cardstock!

Hope you like the card, and for more ideas on Sunshine theme just go to the next blog!

To go to Amanda Bates' blog:
Amanda's blog 

Or if you have missed one or are going backwards through the hop then go to Julie Kettlewell's blog:
Julie's blog


Thank you for taking the time to read my post!


Sarah xx


Table built using Product Table Builder by The Crafty Owl - Independent Stampin' Up! Demonstrator.

Saturday, 3 December 2016

December Jems Blog Hop


http://samscakesandcrafts.blogspot.com/2016/12/my-stampin-up-favourites-2016.html

Good morning guys!

You may have just joined me from Gill's blog and if not you can always click on the above and it will take you to the beginning to start from there.

So the theme of this month's hop is 'A review of 2016' well I took this as what was my favourite product to use from this year, and my fave item was the 'Penned & Painted' stamp set. 
  
 I love using the Penned & Painted stamp set, it gives a beautiful watercolour image without having to:
  1. Be able to draw, and
  2. Be able to paint 
This stamp set makes me look like an artist and it produces gorgeous images which really make the product I create stand out, or maybe that is just me and you may think otherwise, but still I like this stamp set.


The above calendars were made with the Penned & Painted stamp set and the sentiment was stamped from the Scenic Sayings clear mount set. 

One of the lovely things about Stampin' Up! is that all the products colour co-ordinate with each other which allows all the individual items to just combine seamlessly and therefore make a lovely piece of work.


The calendars were bought off of amazon.co.uk, I could have handmade the calendars with the Project Life date it stamp set like in my previous post regarding my onstage display items but I wanted to make quite a few to sell at my stall so this would have taken a long time, so made a short cut!

Also here are a few products I have made previously and shown on previous blog posts regarding this gorgeous stamp set:


 So I have included a product list below for the main items to purchase from my online store, any questions you may have about how to make any of the things above then just ask and I will be happy to help.

Thank you for reading and hopefully you will be back soon!

Sarah xx


 Click on the right image to either go onto the next blog post or click on the image on the left to go back, you decide!

http://makemoorcards.blogspot.com/2016/11/a-review-of-2016.htmlhttp://www.stampinup.net/esuite/home/ragbagbadger/blog?directBlogUrl=/blog/5017923/entry/placeholder

Saturday, 2 July 2016

Jem's Blog Hop - Animals!


 Back to the beginning of the Blog Hop!


Good morning crafters!

So I see you have just joined me from Julie Wade's blog, I hope you enjoyed their animal cards, I am sure you have. Well now you are with me Sarah Lindsay and incase you didn't get the theme it is Animals!

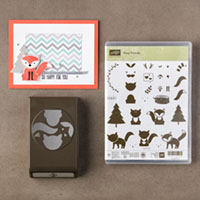
So for my post I decided to use the Foxy Friends Photopolymer Bundle, this includes the stamp set and the punch that coordinates with it.


I love this stamp set as I don't just have to make a fox, I can make a raccoon, a squirrell, a lion, a tiger oh my! and many more animals that I may not have thought of yet. Also I don't have to get my big shot out if I cannot be bothered to as I can do it all sitting at my table with some card, stamps and a punch.


The lion was done with Daffodil Delight cardstock and ink and the mane was made using one of the May Flowers Framelit dies, however it can be cut out freehand. The lion's tail was cut out freehand from the tail punch bit.


The tiger was made using Pumpkin Pie ink and the stripes were drawn on using a black pen. The squirrell from the top picture was done by drawing in two front teeth and colouring them in with a white gel pen.


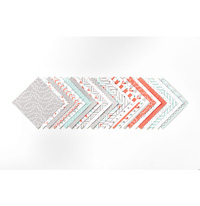
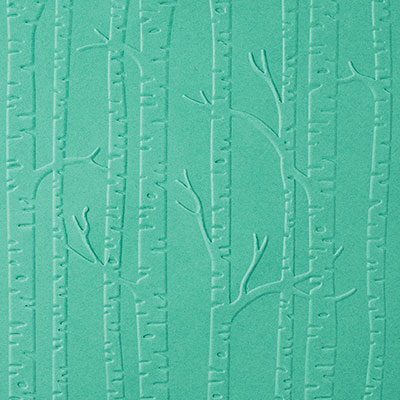
I paired the stamps with the coordinating paper set, A Little Foxy DSP, and it just works really well with it. I also used the Woodlands embossing folder and just having the image and a sentiment keeps it quite simple yet effective!


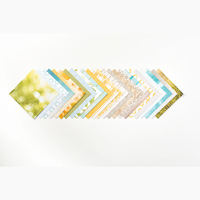
One of the lion cards uses a different paper stack which is called Serene Scenery and this has loads of different images of real scenes, see if you can work out which one it is! I love that paper pack also (along with everything else) as there is so much I can and want to do with it, just need to get more time!

So that is that from me for now, please follow the links below to check out the next post in our blog hop and some more brilliant creations. Hope you check back with me soon and thank you for reading my blog.

Thanks

Sarah x


http://createhandmadehappiness.blogspot.co.uk/2016/07/july-jems-blog-hop.htmlhttp://kraftingk.blogspot.com/2016/07/jems-blog-hop-theme-animals.html


Some of the products used to make the above cards:


Saturday, 4 June 2016

Jem's Blog Hop, New In-Colours & Botanical Blooms


Hellooo all!!!

So you will have just joined me from Julie Wade's blog Create Handmade Happiness, how is it so far? There are so many amazing and interesting projects from all these lovely ladies, hopefully my can live up to their standards!

This blog hop will be occurring every 1st Saturday of the month so make sure you don't miss out.

Sooo last month's blog hop was about retiring products, well this month's one due to the new catalogue that has just come out this week (yayyyyy!!!! and a little dance) is all about the new in colours!

The new in-colours which will have probably been mentioned in the posts previously but I will say again are:
  • Dapper Denim
  • Emerald Envy
  • Flirty Flamingo
  • Peekaboo Peach
  • Sweet Sugarplum

For this post I have done two cards which use the new in-colors and the new copper embossing powder.


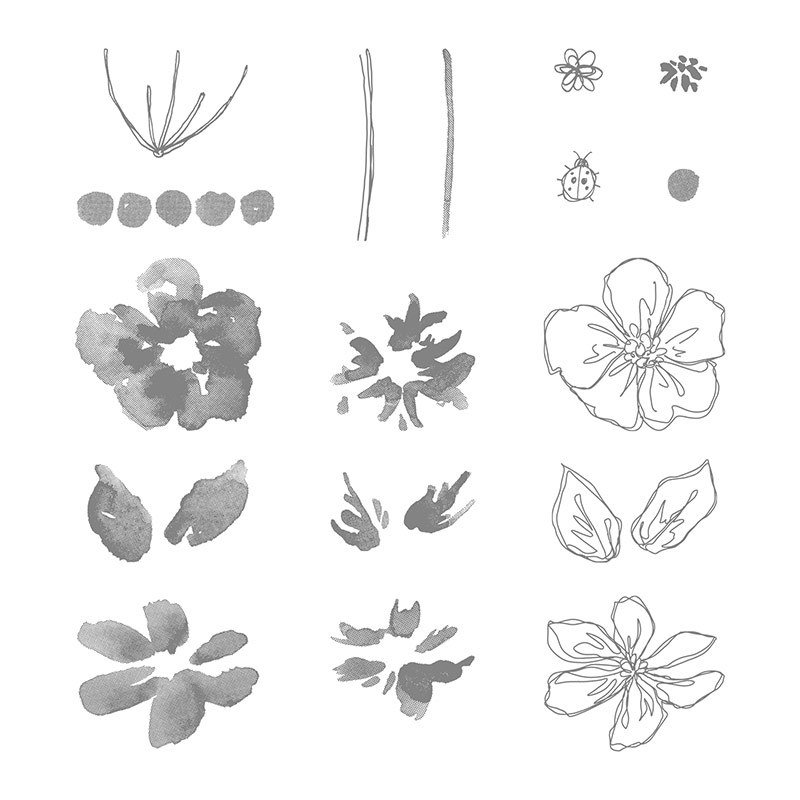
So for the above cards I used the Botanical Blooms photopolymer stamp set, which I have found so many different cards I can make with it and am looking to use it on my shadow box (previous post) once I get my dies to go with it, as I don't want to hand cut them ;-) 

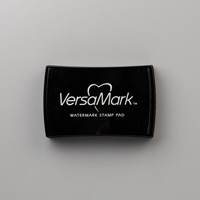
With the card on the right I used the new in-colours and just stamped the flowers and leaves randomly on the page, I then used the Botanical Gardens vellum over top of the stamped card (this was the vellum that came free during sale-a-bration). I stamped 'Happy Birthday, Everyone' from the hostess stamp set using versamark ink and heat embossed with the new Copper embossing powder.
I used Flirty Flamingo ruched ribbon at the top and then embellished it with a Botanical Garden Jewel and some enamel dots.

For the left card I stamped the leaves randomly with versamark ink and then heat embossed them with Copper embossing powder. I love the new copper embossing powder (thanks Sam!). I then again used the Botanical Gardens vellum over top of the stamped card and placed the copper embossed Affectionately Yours Washi Tape at the top of the card.
I finished it off with a Happy Birthday sentiment stamped in Emerald Envy and some Botanical Garden Jewels. Oh and some rhinestones, which I love using, they are nice and sparkly!

Bookmarks using the Botanical Blooms!

So whilst I was making the above cards I had some scrap card left over and wondered what to do with it, and suddenly thought oh maybe they might be big enough to make some bookmarks. My mum was crafting with me so she made the left and right ones and I made the middle one. She liked the Botanical Blooms stamp set so much that she wanted them as well!

And here they are:


The left and right bookmarks were made with the Botanical Blooms stamp set and the sentiment is from the Wild about Flowers photopolymer stamp set.
The middle bookmark uses the Papillon Potpourri Clear-Mount Stamp Set, I then used the corner rounder to cut the corners and the sentiment is from the Wetlands clear mount stamp set. Twine and Night of Navy ribbon was used to embellish them.


Table built using Product Table Builder by The Crafty Owl


So we are now at the end of my post and if you click the below right picture then you will move forward in the blog hop and go to the next crafter who is Yvonne Hunt for her Vonnies World blog and if you click on the left button you go to the previous poster incase you missed them. Also if you click the main blog hop title at the top of this post then you will start at the beginning of the blog hop again.

Thank you for reading!

Sarah L

 
 Julie's Blog
 Yvonne Hunt's blog 
 

Facebook

Limited edition Paper Pumpkin kit

My Pinterest

Follow